Quick Guides index
-
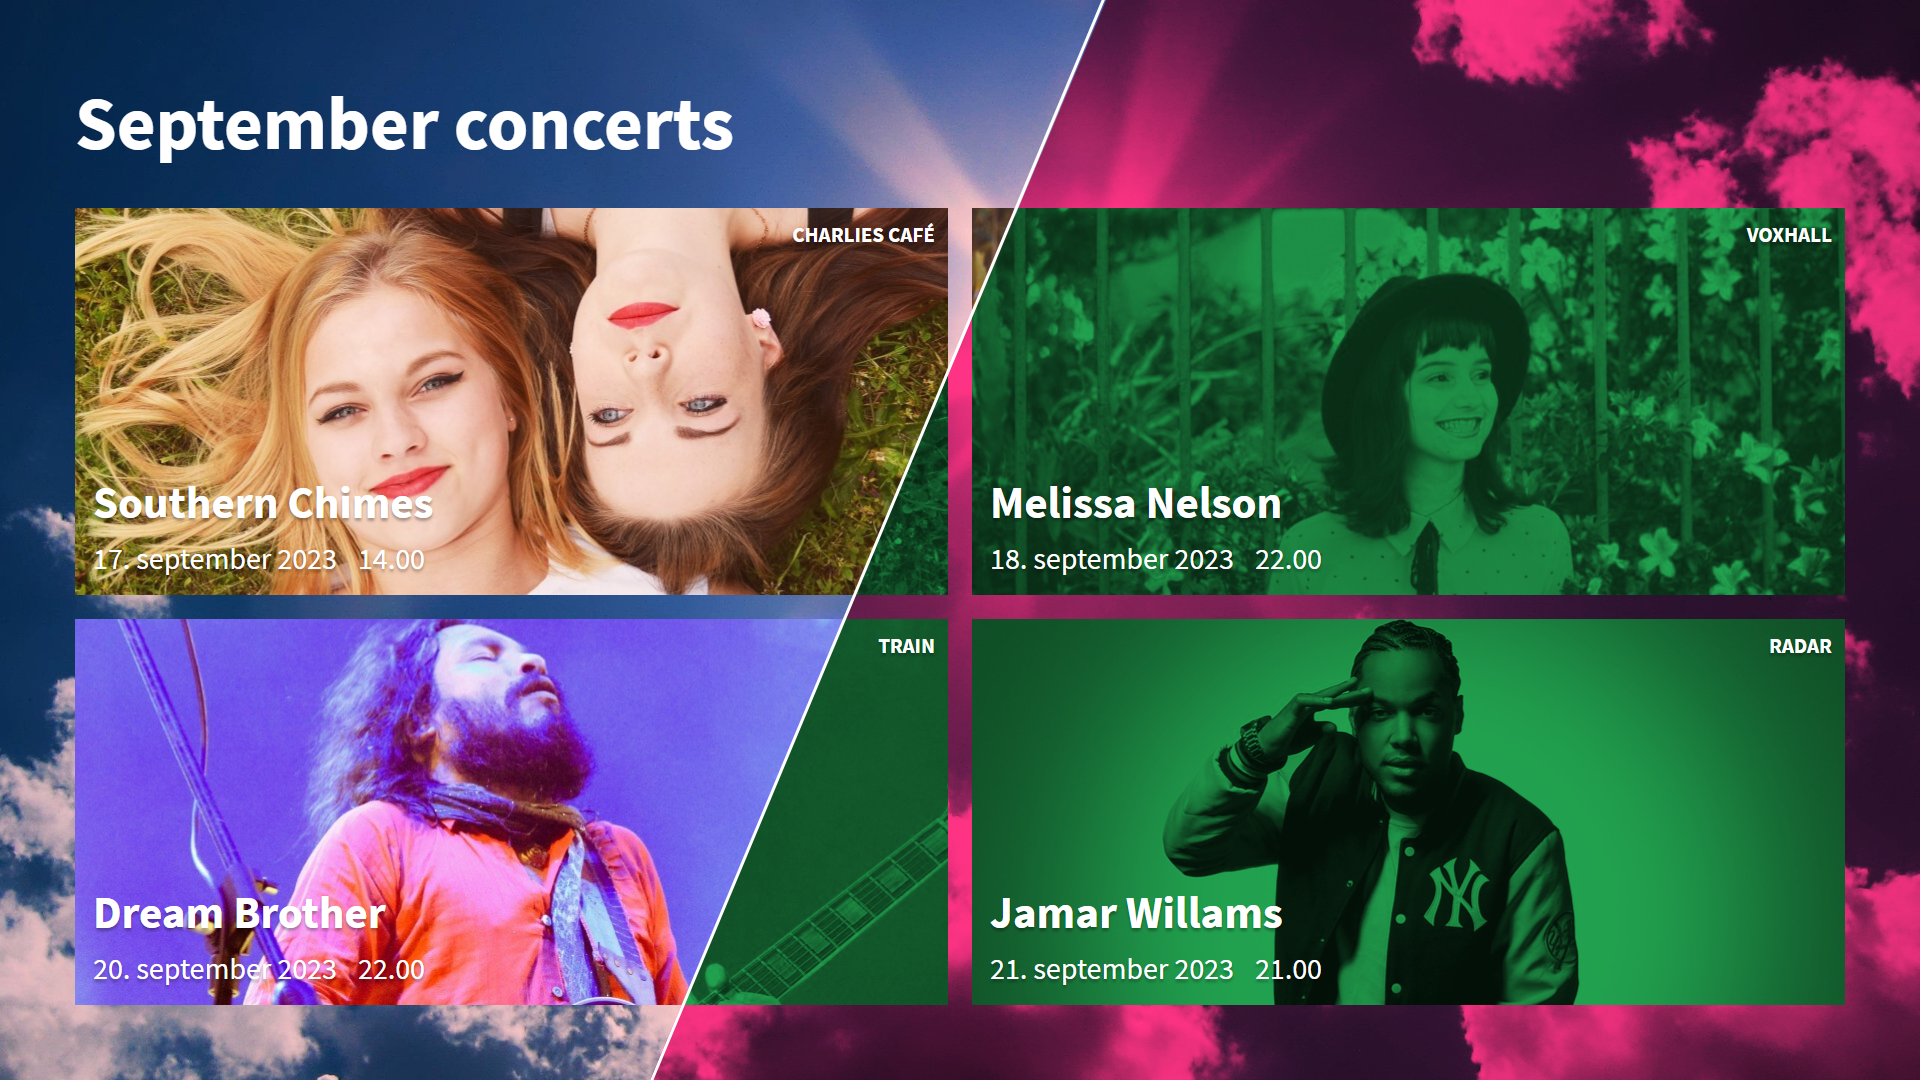
Colorize your content beautifully with Style Themes
Use Style Themes to customize colors and backgrounds for your screens.
It is easy to create or edit a global theme that your screens draw their style information from.
Note: For new customers, all screens subscribe to the default theme called "[customer name] default styles".
Customers from before version 1.12 may have multiple style themes reflecting their former indivdual screen styles.
-
1.
Edit the default style theme
In best practice the most part of your screens should draw their style information from the default theme. The default theme is not deletable and it works as the fallback theme. If any other theme is deleted, all screens subcribing to this will automatically change its subscribtion back to the default theme.
So let's edit the default theme:
- Start by going to the Style Themes section
- In the style theme list - click the title of the Default Theme
- Now edit the background and colors while watching the changes live in the examples-panel
Tip: you can scroll the editor-panel and the examples-panel individually - Click Save
Read a complete rundown of the style properties in the manual here
-
2.
Set up your screen's style theme
Now we'd like to make sure a screen subscribes to the default theme and we'll preview the screen.
In the Screens section
- Choose a screen in the screen list view by clicking its name.
- Go to the Style - tab
- In the Style Theme select box, choose the default theme
- Click Save
- Go back to the screen list and preview the screen by clicking

-
1.
-
Get started with wayfinding
The wayfinding widget is used to help patrons navigate the library, showing the location of facilities and materials.
Articles can also be attached to give more information, and can include images of the location.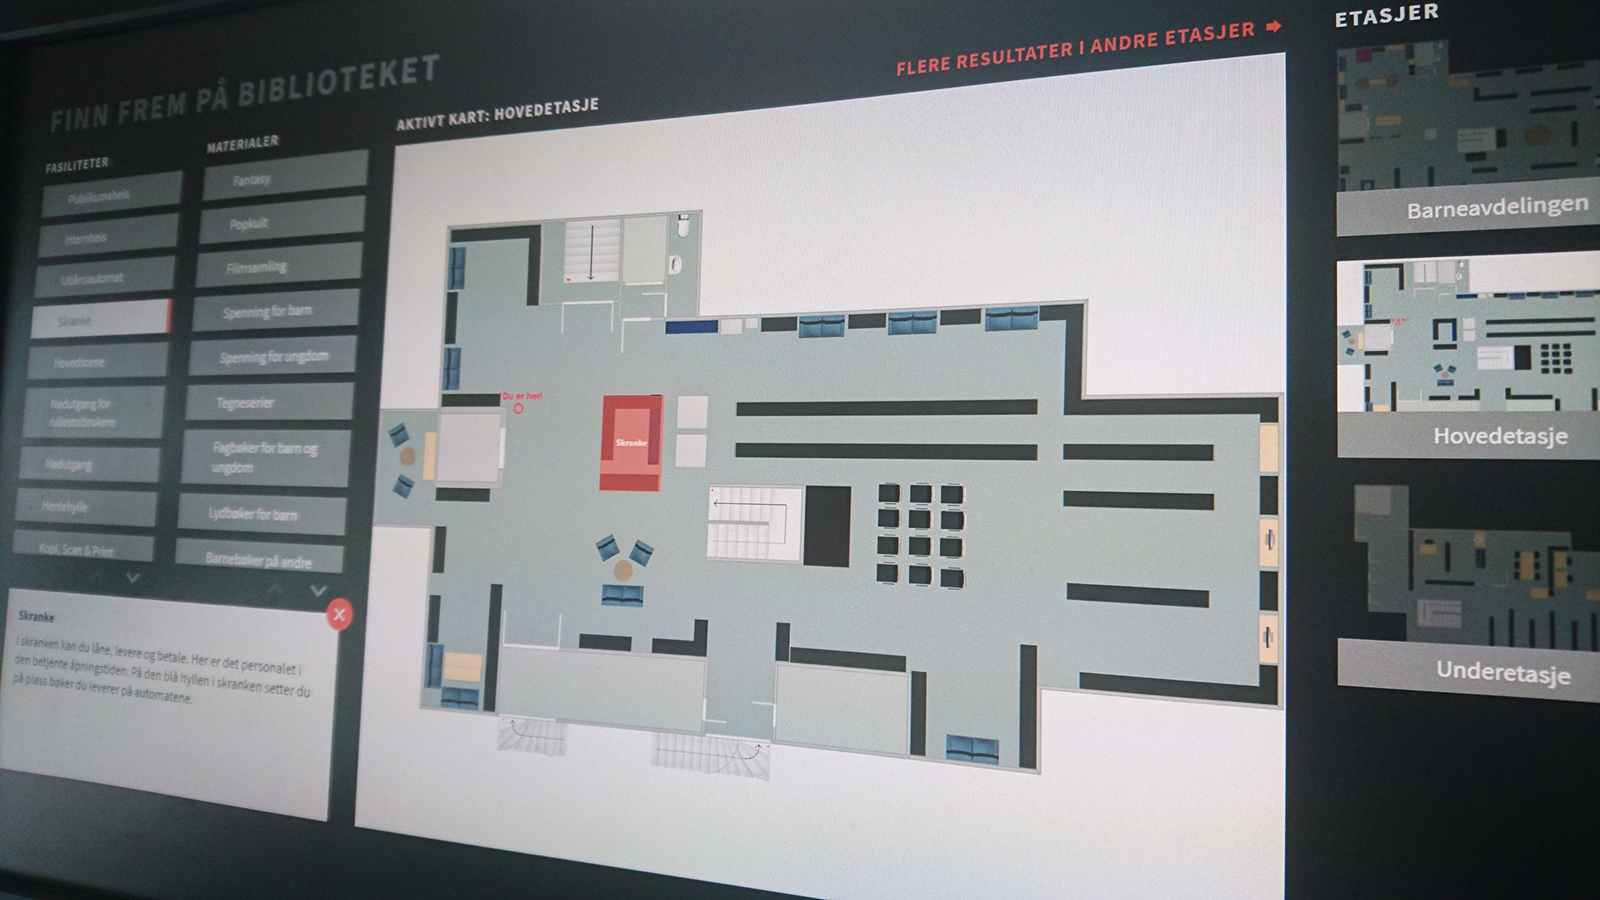
The wayfinding module supports:
- Multiple maps for different floors or buildings
- Three different location marker types (pins, rectangles and multi-sided areas)
- Categories (tags) containing multiple locations. Categories are divided into either Materials or Facilities
- Category descriptions and optional article attachment to locations
- Styling in preferred colors and backgrounds
To create a wayfinding widget for your uniFi+activ or activ directed you must complete several steps.
-
1.
Setting up wayfinding
In the Wayfinding section:
- Upload map image(s) under the Map -tab
- Create the categories under Tags e.g. Toilets, Information, Novels, Magazines
- Draw the locations under Maps -> Edit locations
For a location you choose one or more tags
-
2.
The wayfinding widget
In the Widgets section:
- Create new widget of the wayfinding type
- Write a Title under Content and set optional background styling under Design
- Attach the widget to an existing screen or collection Content
-
3.
Preview wayfinding
In the Screens section:
- If not already added from the widget section itself, add the wayfinding widget to any +activ screen by clicking the
 in the content column of the screen list. This will open the content picker and here you select the wayfinding widget under the widget tab.
 - Optionally: Change the location color by clicking the screen name and choose a new Wayfinding location color under Design
- Preview the result by clicking
 next to you chosen screen
Read the fully detailed manual here
- If not already added from the widget section itself, add the wayfinding widget to any +activ screen by clicking the
-
Create a flexible and appealing calendar
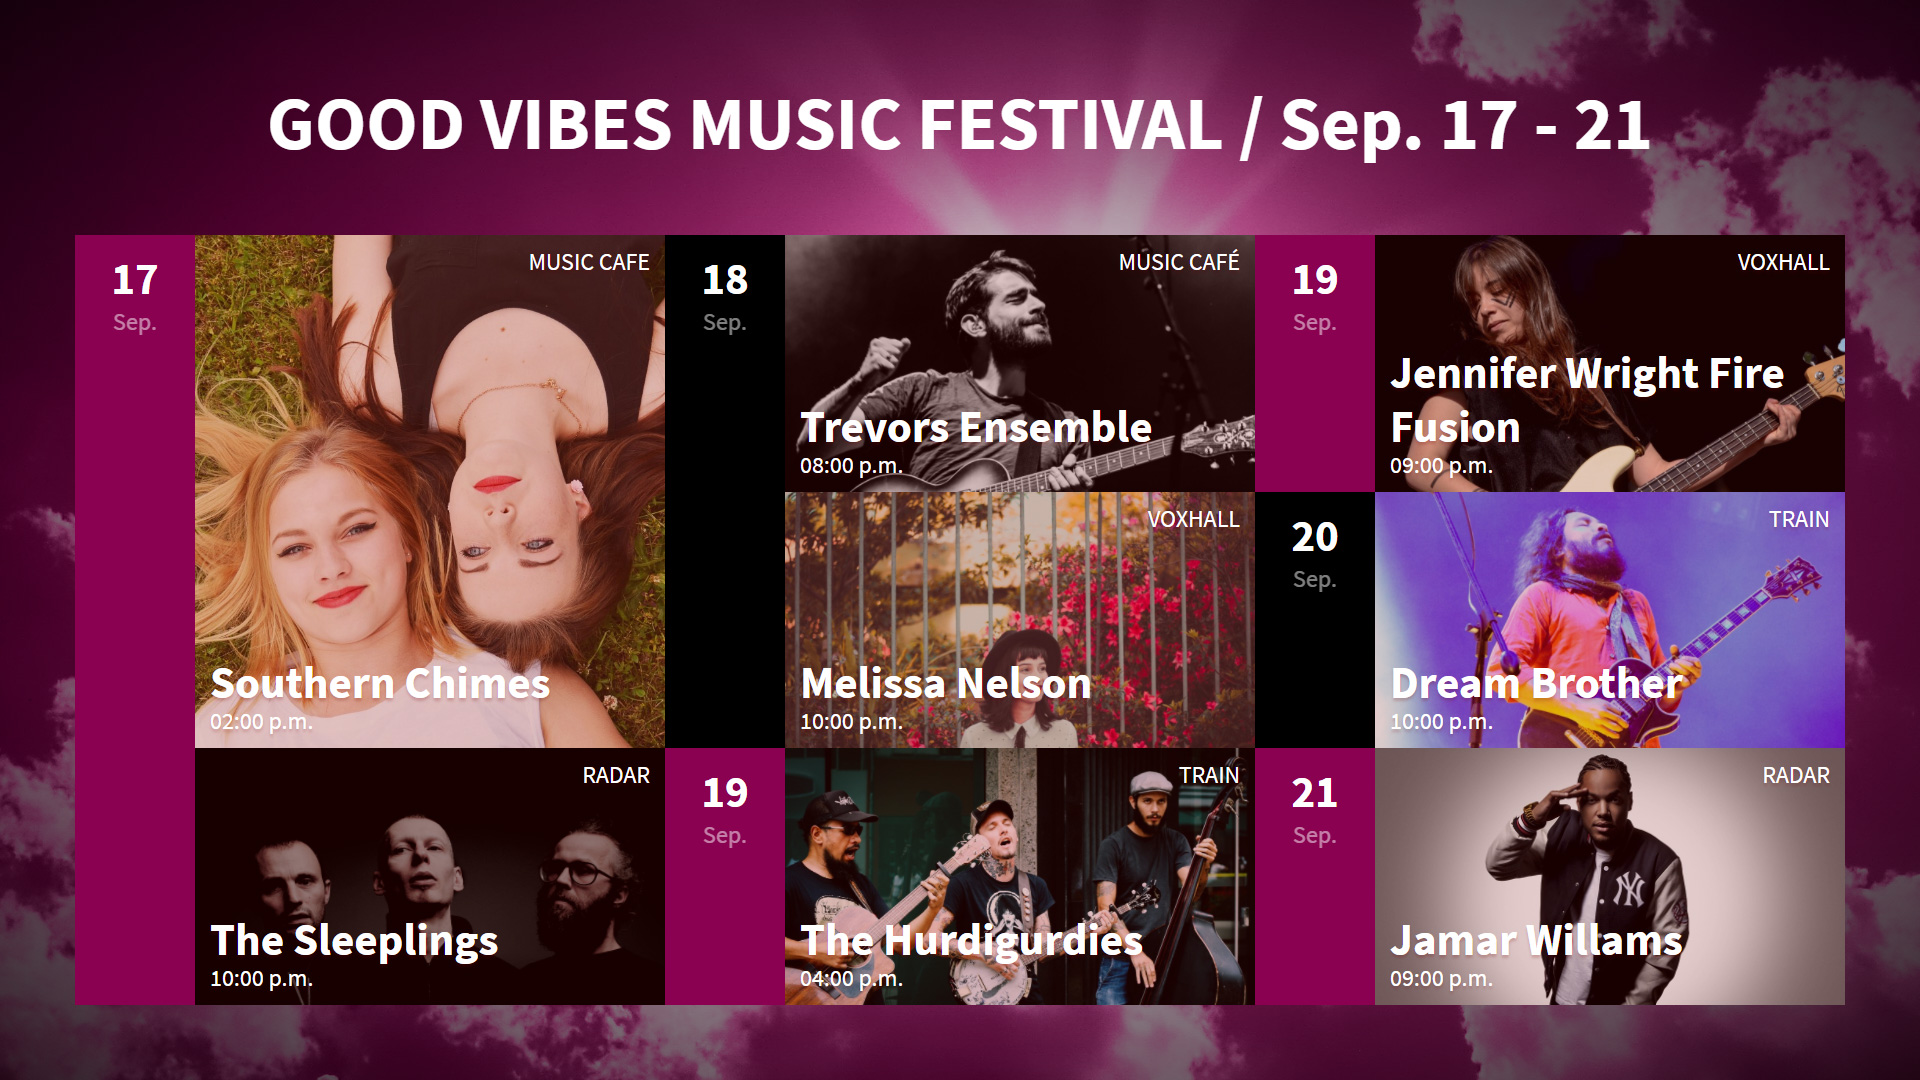
Calendar presentations offer a display variant allowing up to 28 events in a single slide. This display is intended to provide an overview of the upcoming events.
As an additional option for service provided calendars (currently Danish libraries only), this display can also serve as a day-program if all events are limited to that day. More on that below.
-
1.
Create a calendar presentation
In the Presentations section

- Create a new presentation of type Calendar
- Under Content, type a Title and click Save
- Attach a number of articles containing event data (If no calendar service available)
- Attach the presentation to a screen or maybe an existing collection under Content
-
2.
Setting the display type
Under the Display tab, select the third option (Up to 28 events ..) under the field Display variants for info screens
-
3.
Configure the calendar
For Danish libraries:
If the calendar is generated by a provider (Kultunaut, Inlead, DDB CMS, etc.), you can set the number of events and how many days the calendar should last.Click the Calendar Configuration tab
Set Time Limit- Click the Enable time limit field
- Write the number of days that the calendar should reach in the future
NOTE: If the specified period contains more than 28 events, the excess events will not be displayed until they are within the first 28.
TIP: Make the calendar for a day program by specifying 1 day as a time limit - this will make the dates in the view the time of day's events
Set Volume Limit- Click the Enable Quantity Limit field
- Write the number of events you want to show.
NOTE: If the specified amount is more than 28 events, the excess events will not be displayed until they are within the first 28.
-
4.
Attach and preview on screen
In the Screens section:

- If not already added from the Presentations-section itself, add the calendar presentation to any uniFi+display or +idle screen by clicking the
 in the content column of the screen list
 - See the result by clicking
 next to the selected screen
- If not already added from the Presentations-section itself, add the calendar presentation to any uniFi+display or +idle screen by clicking the
-
1.
-
Display fullscreen images
If your content does not fit into any of the possible presentation views (texted articles, calendar, etc.), with full-screen images you have the option to control the entire screen layout yourself.

-
1.
Consider the media proportions
Full screen media is by default placed so that everything fits inside the screen, without stretching. This is done by either scaling down the media or adding bars.
If you want your media to cover the entire screen (with no black bars), there are two ways to accomplish this:
- Allow cropping after upload. When the media is uploaded go to the Advanced tab and check allow cropping.
Read more on: Cropping full screen media.
Pros: The media will cover any given space on any screen.
Cons: Not all media will look good with auto cropping. The wrong parts could be cropped out. - Before uploading the media, make sure the media has the right proportions relative to the screen. This is done by cropping it manually in your media editor or even planning the media size and content for this particular proportion.
Pros: You can control exactly what is visible when shown on screen.
Cons: The media will only fit one screen proportion - You'll need a different media for e.g. a vertical and a horizontal screen.
It is also necessary to take into account that other elements may take up space in the image, eg. touch advice and the date-bar. The vast majority of monitors today have a 16: 9 resolution. On this page you can see the exact dimensions of media in different screen setups for just 16: 9 screens.
- Allow cropping after upload. When the media is uploaded go to the Advanced tab and check allow cropping.
-
2.
Create a textless article
In the Articles section
- Click + Add Article
- Give the article an appropriate title and Save
- Make sure the Text field is completely empty (Important!)
- Under the Media tab, you can now upload one or more photos and videos
TIP: On uniFi+display / +idle, all media in the same article will be played one after the other no matter how many there are.
In contrast, several articles in the same presentation will be played according to how many allowed articles may be displayed in a row per. loop. This can be set under the screen's "Timing and Sequence" settings (default is 2 articles per loop - before changing to another presentation or widget)
-
3.
Attach to screen
The fastest way to view your article is to attach it directly to a screen.
From the article's content tab scroll down to the containers section.
Select + Choose screens, and through the Content Picker select the screen on which you wish to attach and preview your article. -
4.
Preview the article
Now go to the Content Overview section:

Find you screen in the list and expand its content until you find your article.
Click the
 button in the right, to view the article in the previewer.
 -
5.
Alternative workflows
- Attach article from Screens section
Go to the Screens section and select the article as a content child by clicking from the content column in list of screens.
 - Use a Basic Presentation
Using a presentation might be a better way to structure articles, e.g. if you have multiple article in the same category.
Go to Presentations section and create a "basic" presentation type. Attach your article to this. And attach this to your +idle/+display screen. - Add multiple fullscreen images to a single article
By adding multiple images to one single article all images are cycled through before the screen moves on to next content entity.
By default presentations takes two articles in a row before moving on to next presentation/widget. This setting is set under screen configurations' Timing and Sequence tab.
- Attach article from Screens section
-
1.
-
How to set up your uniFi+idle
-
1.
Create one or several articles
Your uniFi+idle will display a number of uniFi+ articles in a repeating loop.
Begin your configuration by creating one or several articles. How to create articlesStart from the Articles section and add a new article:

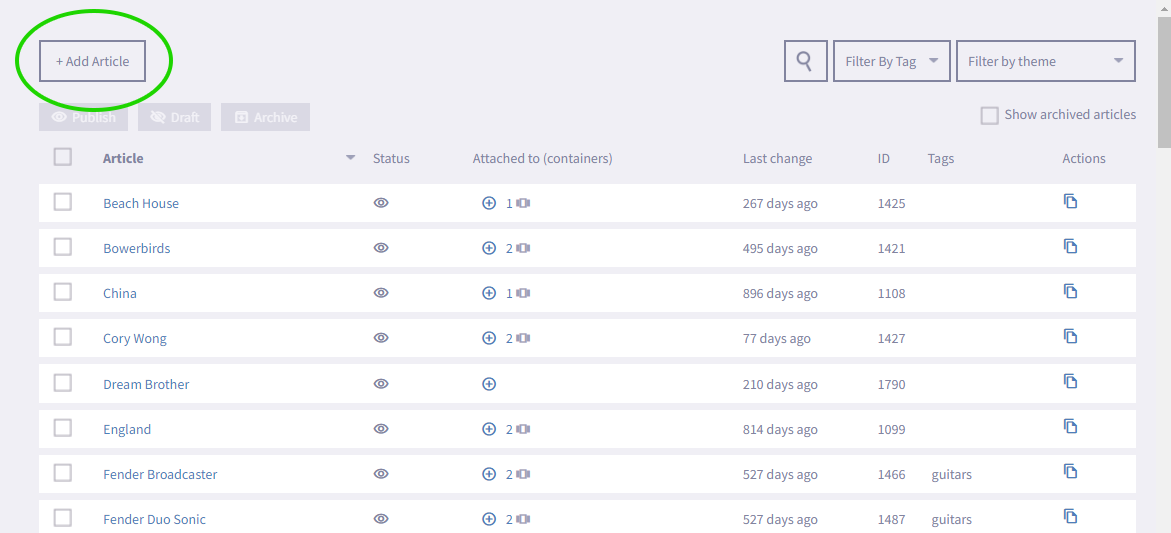
TIP 1: The +idle will change how an article is displayed based on the content provided. Thus if an article only contains an image or a video, the media will be displayed in full screen and otherwise the +idle will display the complete article with text and media.
TIP 2: If you want to control for how long each article will be displayed, you can configure this in the screens settings-section
TIP 3: If you only want your article displayed in a specific period of time, you can configure this period when editing the article. Go to ‘settings’ and activate ‘Time limit’ to choose the date span in which the article should be active.
-
2.
Create a basic presentation
With your articles created, you must now create a presentation of the type ‘Basic’.
Go to the Presentations section to add a new Presentation:

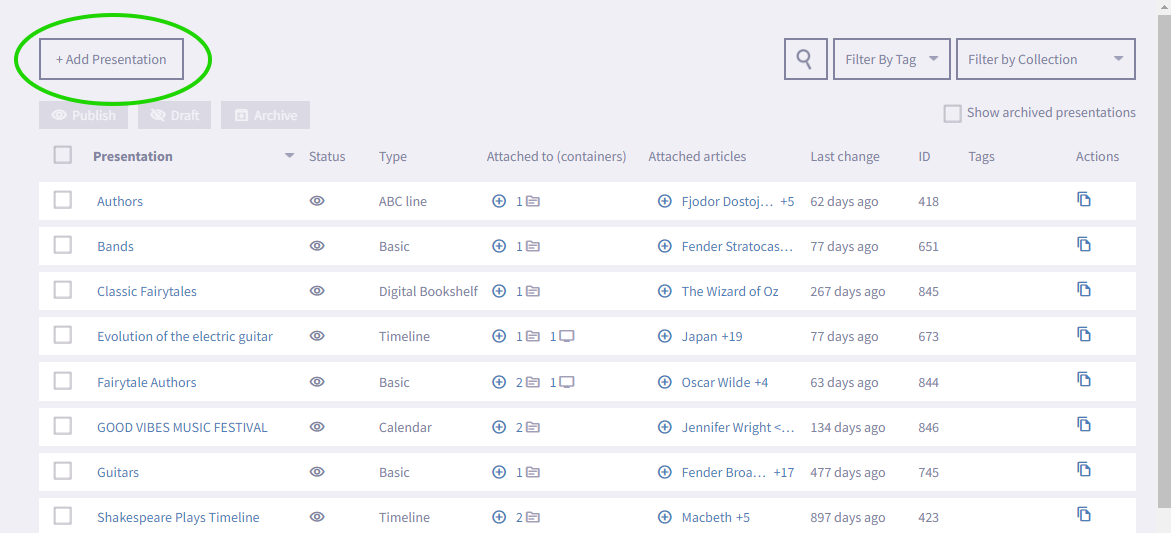
Choose the type 'Basic' in the modal: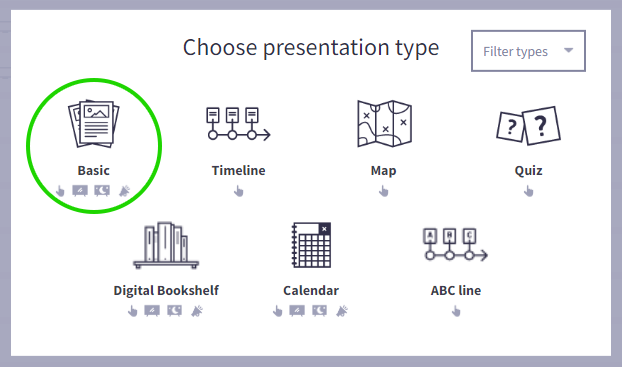
Further instructions: How to create basic presentation.Within the Content Picker editor you can attach your articles. Remember to click Save
TIP: The 'basic' presentation you just created can be used on other screens as well. Even if you have +display or +activs attached to your account, you will be able to reuse presentations across these different types of displays.
TIP 2: If you want to present books or events, you can also use the presentation types: "Event calendar" or "Digital bookshelf"
-
3.
Attach presentation to uniFi+ idle
Finally your ready to attach the presentation to your uniFi+idle. There are multiple ways to do this:
- Adding the presentation to at screen can be done directly from the Presentation editor in the Containers section in the bottom of the content tab. Click + Choose Screens
- Alternatively go to the Screens section and find your idle-screen in the list

Use the in the content column next to the +idle to add content to your desired screen.
Now choose your newly created presentation for the +idle: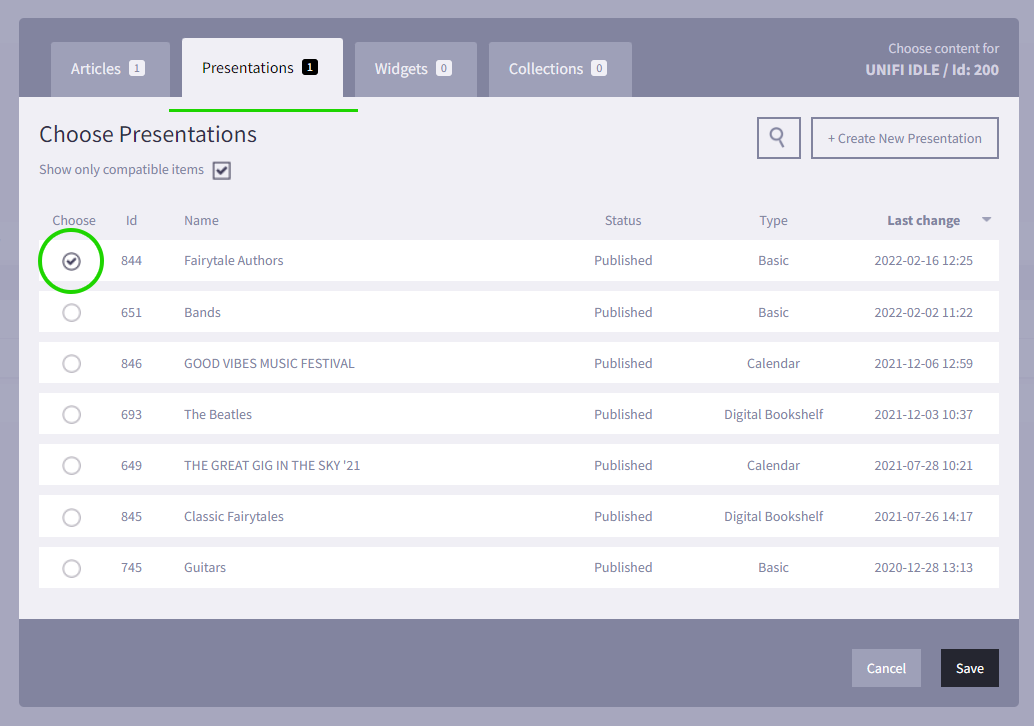
TIP: If you prefer to have the same content on several +idles. You can group these by adding a +idle-group in the setup view. When you have created a group, simply unfold it and drag the +idles you want to the dark gray area beneath the group name.
Content for the group can be added by choosing the “configure” button next to the group (same way as when configuring content for just one +idle) -
4.
Enjoy the result of your work
Congratulations! Now you have configured your uniFi+idle. The software on the PC running the +idle will now start downloading the content you just created and will start presenting this, whenever it is reactivated in Windows.
TIP: You can view the +idle output, by pressing the preview button
 next to the +idle or the +idle-group.
-
1.
-
Present a local weather forecast
The weather forecast is drawn from Norwegian weather service YR and is quite easy to set up.

-
1.
Create weather report widget
In the Widget section:
- Click + Add Widget and select Weather Forecast from the type menu
- Give the weather forecast an appropriate title, eg "Weather in Randers" and click Save
- Under the Location tab - select the automatic location method and click Find New Location
Enter the city and country and click Find Coordinates
If the location looks right on the map shown, click Save at the bottom - Under the Design tab, you can upload a background image
TIP: To make the text clear enough on top of the background, you can set the background color (of the boxes) and its transparency - Attach the widget to a Screen from the containers section in the bottom of the tab: Content
The Culture in the uniFi manager customer settings sets translations of day and month on the Weather widget. E.g.
English will show THURSDAY 20. NOVEMBER
French will show JEUDI 20. NOVEMBRE. -
2.
Attach weather report to uniFi+ display
In the Screens section:
- If not already added to a screen from the Widgets sections, add the widget to a uniFi+display screen by clicking
 in the content column of the screen list
 - In the Content Picker modal select your weather widget under the Widgets tab
- See the result by clicking
 next to the selected screen in the screen list
- If not already added to a screen from the Widgets sections, add the widget to a uniFi+display screen by clicking
-
1.
-
Engage your users with a fun quiz
With an +activ quiz, you invite your users to engage in a fun and challenging way.
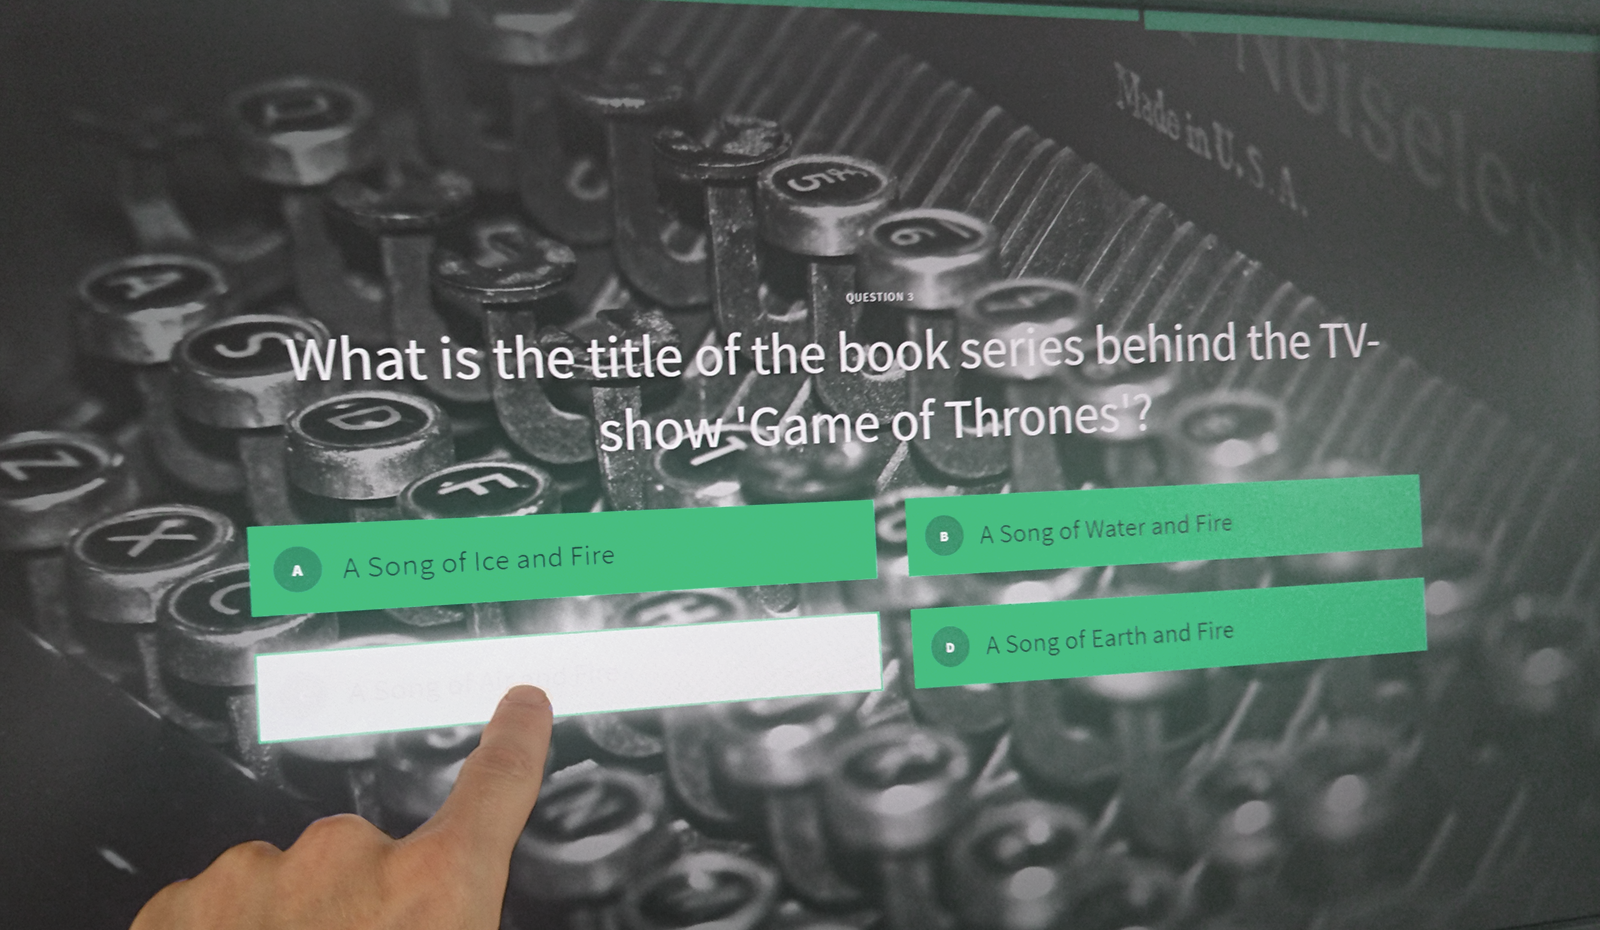
-
1.
Create Quiz Widget
To create a Quiz widget:
- Select Widgets from the options on the Main screen.

- Select + Add Widget and choose Quiz.
- Under the Content tab, enter the Title for your Quiz. This is used to name your Quiz in the administration and will not be shown on the screen.
- Select Save as draft
- Go to the Question tab, start by clicking + Create New Question
- Write your question
- Click + Add Answer and enter an answer. Repeat for the number of answer options you want. One of the answers must, of course, be correct.
- Finally, select which answer is correct via the Correct answer drop-down field
- Click Save then click on Back which goes to the Question tab
Repeat this procedure for the number of questions you want the quiz to contain.
- Select Widgets from the options on the Main screen.
-
2.
Rearrange Questions
Change the order of the questions shown in the quiz on the +activ screen by dragging and dropping the list items to the desired position. The top question in the list is the first question shown on the +activ and so forth. Click Save as draft to save the rearranged order of questions


-
3.
Style your Quiz
Under the Styling tab, you can:
- Choose an alternative Style Theme for your Quiz.
- Override the Style Theme background for your quiz by selecting 'Use custom image'.
- Override the Style Theme background color by selecting 'Use custom coloring'.
To set a custom background for your quiz select Choose File and navigate to the location of the image to use as a background image.
We recommend a resolution of 1920 x 1080 pixel for applications in landscape view. -
4.
Schedule Quiz
If needed, you can schedule the Quiz to only be shown at specific times.
To do this, go to the Scheduling tab:- 'Active time limit' sets start date and end date for your Quiz.
- 'Activate repetitions' to set a specific time interval each day and which days your Quiz will be shown on the screen.
-
5.
Attach Quiz to an uniFi+ activ screen
In the Quiz:
- Under the Content tab click + Choose Screens , select your uniFi+activ screen and click Save
- Remember to click Save as draft or Save and Publish to save the coupling to the screen.
In the Screens section:- Select Screens from the options on the Main screen.

- Click on
 in the content column of the screen list, go to the Widgets tab, select your Quiz and click Save
That's it. You've now created your Quiz.
To see how your Quiz is presented on the uniFi+activ screen, go to the Screens section and click next to the screen you added your Quiz to.
-
1.
